The following guide aims to help in the N.Rich Tag installation if you are using Cookiebot and Google Tag Manager together to manage tags on your website.
Please note that you are going to need a customized HTML tag file instead of using the standard one. Please consult the N.Rich team to get the file.
The following needs to be configured in your own container:
Login to your GTM container. Make sure there are no unpublished changes.
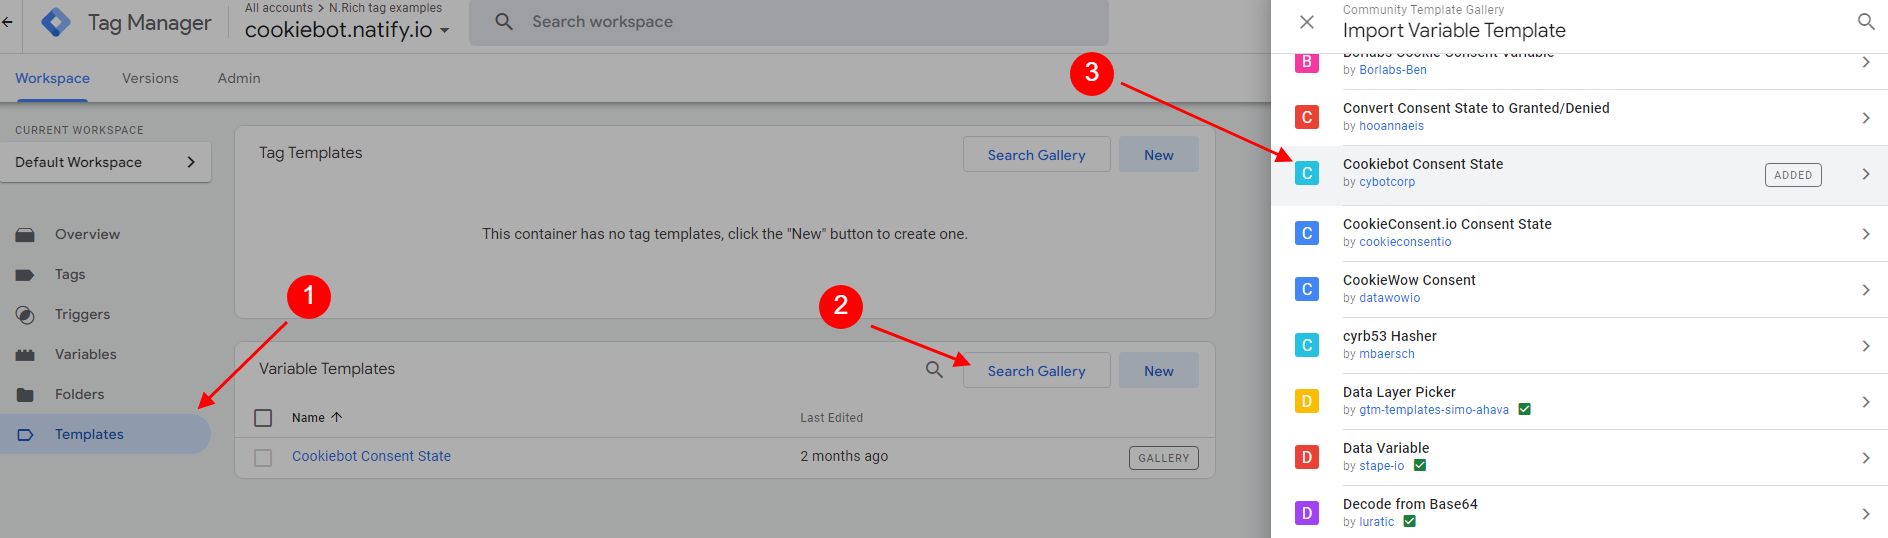
Go to Templates → Variable Templates → Search Gallery → Cookiebot Consent State. Click "Add to workspace" and confirm by clicking "Add".
- Go to Variables → User-Defined Variables → New.
- Name your variable "Cookie consent" (the name of the variable is important here because it is used in the N.Rich tag on the next steps).
- The variable type should be "Cookiebot Consent State". → Click "Save".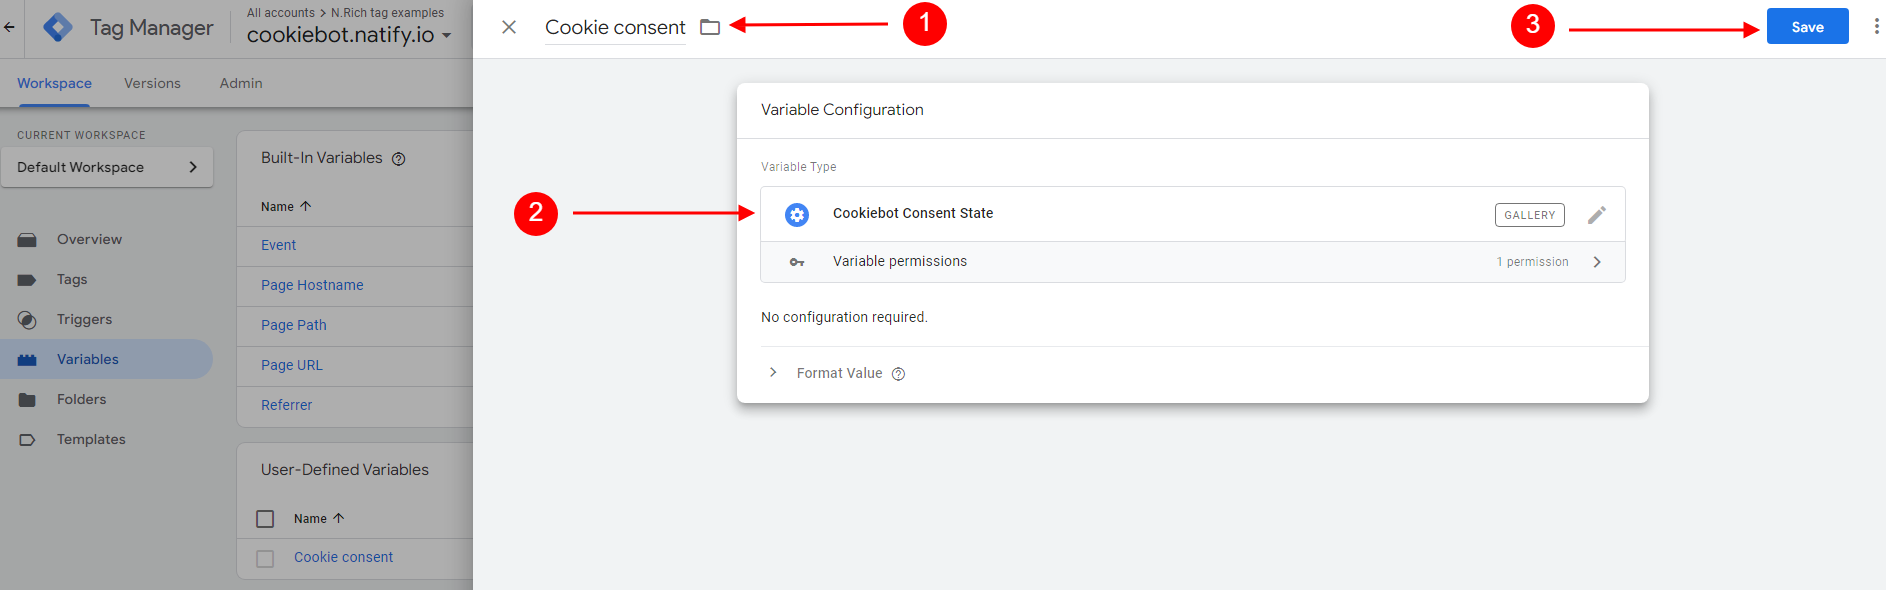
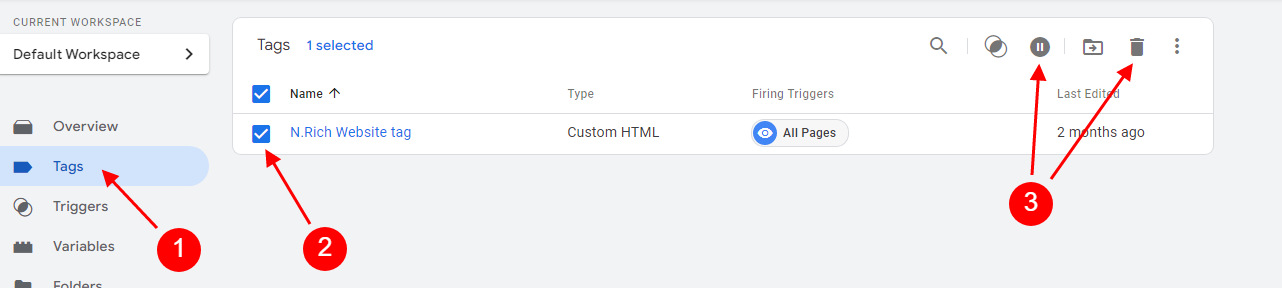
If you have previously attempted to install any N.Rich tags prior to following this guide, go to Tags. Pause or remove all previously installed N.Rich tags (if any) to have a clean slate. (N.Rich team will provide you with a file with a custom HTML tag. Once you have received the custom HTML tag, you can proceed with the next steps).
4.1 Add a new Custom HTML tag and paste the content from the attached file customized file provided to you by N.Rich (custom HTML tag).
4.2 Choose "All pages" as a trigger. There is a small piece of code that is needed only for debugging (it prints N.Rich tag type to the console before firing it), it's not needed in Live mode, we suggest removing it after all verifications (see comments in the tag code that was provided to you).Depending on your Cookiebot configuration you may also need to whitelist N.Rich cookies in Cookiebot config (optional step).
...